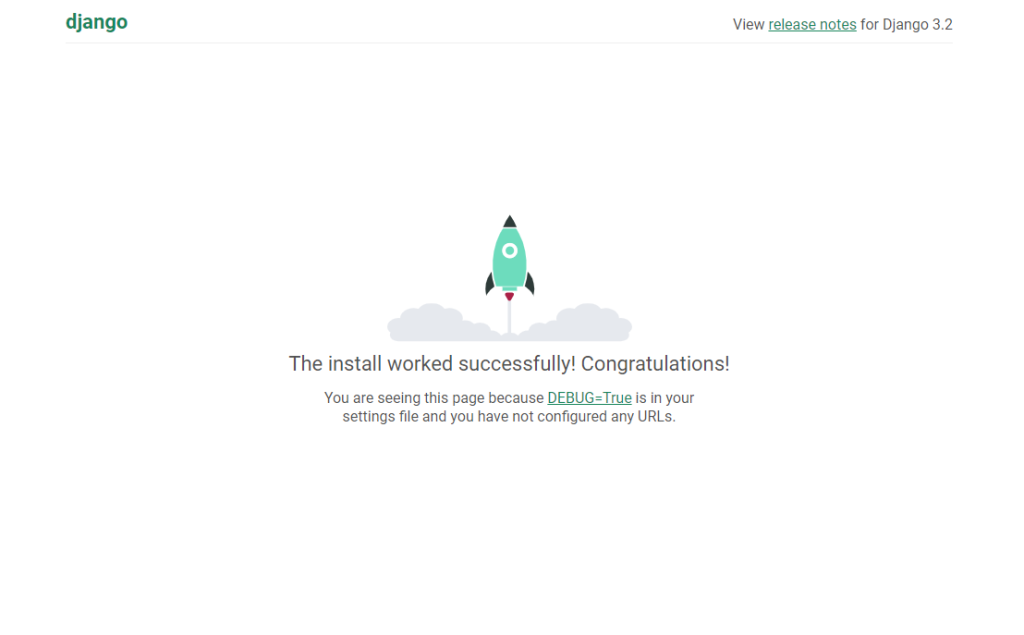
Django is a Python-based web framework that follows the Model-Template-Views(MTV). Django is popular tool for web development because it enables rapid development of websites.
In this tutorial we will guide you on how to setup Django. We will guide you with the most preferred production setup with virtual environment.
If you are looking for a VPS provider to run your applications, you can check interserver offerings.
Let us start with the setup.
1. Updating the system
sudo apt update -y && apt upgrade -y2. Installing pip and Virtual Environment
First check the Python3 Version of your system.
# python3 -V
Python 3.8.10
Let us install PIP and Venv.
sudo apt install python3-pip python3-venv
3. Create a Project Directory
Let us create a project directory.
mkdir /var/www/djangoLet us create a virtual environment.
python3 -m venv django_venv
Activate the virtual environment.
source /var/www/django/django_venv/bin/activate
4. Installing Django 3.2
We will install Django with PIP.
(django_venv) pip install django==3.2
Verify the installation.
(django_venv) django-admin --versionOutput:
3.2
5. Creating a Project
Let us create a Django project.
NOTE: Please don’t forget to include the dot(.) in the ending to avoid too many nested directories.
(django_venv) django-admin startproject myproject .After creating the project we need to migrate the database. But first we need to create a MySQL/MariaDB database before we do the migration. We assumed that you already have a running MySQL/MariaDb service.
Let us create the database.
MariaDB [(none)]> create database django;
MariaDB [(none)]> grant all privileges on django.* to 'django'@'localhost' identified by 'mypassword';
MariaDB [(none)]> flush privileges;
MariaDB [(none)]> exit;Note: Please don’t forget to change the password with the password of your choice.
Let us update settings.py.
sudo nano myproject/settings.pyThe default database set in Django is SQLite. Since we are setting a production site we will update it to use MySQL/MariaDB.

Let us update it with below:
DATABASES = {
    'default': {
        'ENGINE'  : 'django.db.backends.mysql',
        'NAME'    : 'django',                 # database name
        'USER'    : 'django',                 # Mysql user
        'PASSWORD': 'mypassword',             # Mysql password
        'HOST'    : 'localhost',
        'PORT'    : '3306',
    }
}
Before we run the migration let us first install mysql-config.
If you are using MySQL run this command.
sudo apt-get install libmysqlclient-devIf you are using MariaDB run this.
sudo apt-get install libmariadbclient-devThen let us install the Python MySQL driver.
(django_venv) pip install mysqlclientNow let us run the migration.
(django_venv) python manage.py migrateOutput:
Operations to perform:
Apply all migrations: admin, auth, contenttypes, sessions
Running migrations:
Applying contenttypes.0001_initial... OK
Applying auth.0001_initial... OK
Applying admin.0001_initial... OK
Applying admin.0002_logentry_remove_auto_add... OK
Applying admin.0003_logentry_add_action_flag_choices... OK
Applying contenttypes.0002_remove_content_type_name... OK
Applying auth.0002_alter_permission_name_max_length... OK
Applying auth.0003_alter_user_email_max_length... OK
Applying auth.0004_alter_user_username_opts... OK
Applying auth.0005_alter_user_last_login_null... OK
Applying auth.0006_require_contenttypes_0002... OK
Applying auth.0007_alter_validators_add_error_messages... OK
Applying auth.0008_alter_user_username_max_length... OK
Applying auth.0009_alter_user_last_name_max_length... OK
Applying auth.0010_alter_group_name_max_length... OK
Applying auth.0011_update_proxy_permissions... OK
Applying auth.0012_alter_user_first_name_max_length... OK
Applying sessions.0001_initial... OK
6. Accessing the Django App
Before we can access our Django app we need to add our IP Address or domain to the ALLOWED_HOSTS in the settings.py. Let us update settings.py.
sudo nano myproject/settings.pyGo to “ALLOWED_HOSTS” section.
ALLOWED_HOSTS = ['your_server_ip', 'domain.com']Update “your_server_ip” and “domain.com” with your IP Address and Domain then save.
Before we can access our Django app we need to run this command.
python manage.py runserver 0.0.0.0:8000You can now access your Django App at http://IPaddress:8000

Let us create an Admin user for our project
(django_venv) python3 manage.py createsuperuserAfter running the command provide your admin username, email, and password.
7. Setting up the production with Apache and WSGI
To setup production we will install Apache and the Apache mod_wsgi module.
sudo apt-get install apache2 libapache2-mod-wsgi-py3Let us create a virtual host.
sudo nano /etc/apache2/sites-available/django.confAdd the following to the virtual host.
Note: Don’t forget the replace the domain.com with your own domain.
<VirtualHost *:80>
        ServerName domain.com
        ServerAlias www.domain.com
        DocumentRoot /var/www/django
        ErrorLog ${APACHE_LOG_DIR}/error.log
        CustomLog ${APACHE_LOG_DIR}/access.log combined

        Alias /static/ /var/www/django/myproject/static/
        <Directory /var/www/django/myproject/static>
                Require all granted
        </Directory>

        Alias /media/ /var/www/django/myproject/media/
        <Directory /var/www/django/myproject/media>
                Require all granted
        </Directory>

        <Directory /var/www/django/myproject>
                <Files wsgi.py>
                        Require all granted
                </Files>
        </Directory>

        WSGIDaemonProcess mydjangoproject python-path=/var/www/django python-home=/var/www/django/django_venv
        WSGIProcessGroup mydjangoproject
        WSGIScriptAlias / /var/www/django/myproject/wsgi.py
</VirtualHost>
Let us activate the Virtual Host:
sudo a2ensite django.confRestart the Apache webserver.
sudo systemctl restart apache2Now let us edit again the settings.py in order for our webserver to serve the static files.
sudo nano myproject/settings.pyOn the top of the file add:
import osThen go to the “static files“ section and make sure to add these values:
PROJECT_ROOT = os.path.dirname(os.path.abspath(__file__))
STATIC_ROOT = os.path.join(PROJECT_ROOT, ‘static’)
It should look like below.
# Static files (CSS, JavaScript, Images)
# https://docs.djangoproject.com/en/3.2/howto/static-files/
PROJECT_ROOT = os.path.dirname(os.path.abspath(__file__))
STATIC_URL = '/static/'
STATIC_ROOT = os.path.join(PROJECT_ROOT, 'static')
Now let us gather all static content.
(django_venv) python3 manage.py collectstaticOutput:
128 static files copied to '/var/www/django/myproject/static'.Restart Apache service:
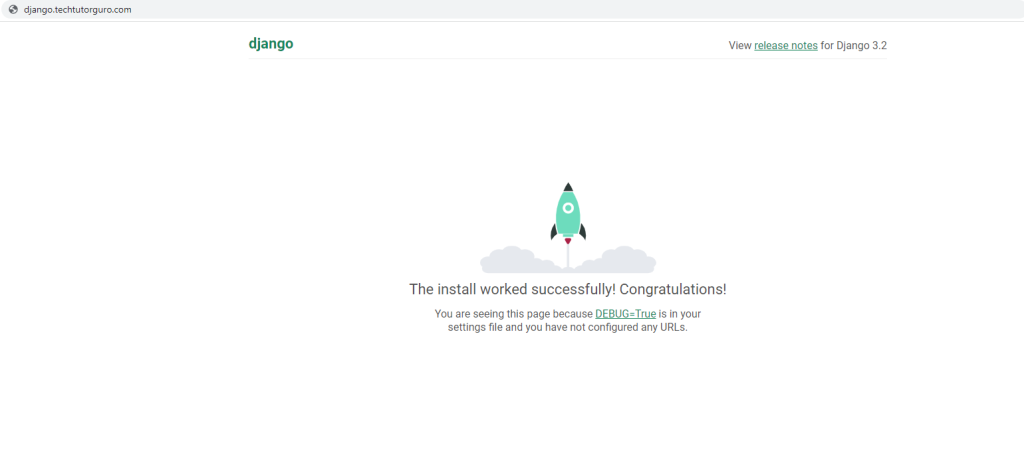
sudo systemctl restart apache2That’s it the production site has been setup. You can now access your Django App with your domain at http://domain.com. If you want to secure your site and install SSL certificate you can check this article.

Conclusion
You have learned how to install Django 3.2 on Ubuntu 20.04 with Apache and WSGI. If you like this article you might like also our other articles on this site.
If you have questions, feel free to leave a comment and we will try to answer it.
Thank you and hope you enjoy our tutorial ?


