Tomcat is a free and open source web server and java servlet container used for projects like Java Enterprise, Java server pages and more. It is also the most preferred environment of Java engineers.
Nginx is a light weight high performance web server used as a reverse proxy, load balancer, mail proxy and HTTP cache.
Ubuntu 22.04 is the latest version of Ubuntu with long term support.
In this article we will discuss how to install and setup Tomcat 10 and setup Nginx as reverse proxy on Ubuntu 22.04
Prerequisites
- Ubuntu 22.04
- And an account with sudo privilege.
- At least 1GB of RAM but recommended to have 2GB of RAM
Installing Java
Tomcat 10 requires to have Java 8 or later but on this tutorial we will install Java 11.
Update our system first:
sudo apt updateInstall OpenJDK 11.
sudo apt install wget openjdk-11-jdkVerify the the Java version.
java -version

Output:

openjdk version "11.0.15" 2022-04-19
OpenJDK Runtime Environment (build 11.0.15+10-Ubuntu-0ubuntu0.22.04.1)
OpenJDK 64-Bit Server VM (build 11.0.15+10-Ubuntu-0ubuntu0.22.04.1, mixed mode, sharing)
Creating System User
To avoid any security risk it is advisable to create an unprivileged user to manage the application. The user should not be allowed to login through SSH and it is only allowed to manage the tomcat application.
sudo useradd -m -U -d /opt/tomcat -s /bin/false tomcatDownloading and Installing Tomcat 10
Let us download the installation to our Tomcat home directory.
wget https://dlcdn.apache.org/tomcat/tomcat-10/v10.0.21/bin/apache-tomcat-10.0.21.tar.gz -P /opt/tomcat/Change directory to the tomcat home directory.
cd /opt/tomcatExtract the file.
tar -xvf apache-tomcat-10.0.21.tar.gzLet us rename the apache-tomcat-10.0.21 to tomcat10 for a cleaner look.
sudo mv apache-tomcat-10.0.21 tomcat10Set the the ownership of the extracted tomcat directory to the system user we created earlier.
sudo chown -R tomcat: tomcat10Set the shell scripts in the Tomcat bin directory to executable.
chmod +x tomcat10/bin/*.shCreate a Systemd Service
To easily manage our application we will setup a systemd unit file. The systemd unit file will be used to stop, start, and restart your tomcat application.
Create a new file in the systemd directory using your text editor.
sudo nano /etc/systemd/system/tomcat.serviceInsert the following information:
[Unit]
Description=Tomcat 10
After=network.target

[Service]
Type=forking

User=tomcat
Group=tomcat

Environment="JAVA_HOME=/usr/lib/jvm/java-11-openjdk-amd64"
Environment="JAVA_OPTS=-Djava.security.egd=file:///dev/urandom -Djava.awt.headless=true"

Environment="CATALINA_BASE=/opt/tomcat/tomcat10"
Environment="CATALINA_HOME=/opt/tomcat/tomcat10"
Environment="CATALINA_PID=/opt/tomcat/tomcat10/temp/tomcat.pid"
Environment="CATALINA_OPTS=-Xms512M -Xmx1024M -server -XX:+UseParallelGC"

ExecStart=/opt/tomcat/tomcat10/bin/startup.sh
ExecStop=/opt/tomcat/tomcat10/bin/shutdown.sh

[Install]
WantedBy=multi-user.target
Save and close the file and reload the systemd daemon to apply the changes.
sudo systemctl daemon-reloadEnable and start the systemd service.
systemctl enable tomcat --nowCheck the status.
systemctl status tomcat

Output:
● tomcat.service - Tomcat 10
     Loaded: loaded (/etc/systemd/system/tomcat.service; enabled; vendor preset: enabled)
     Active: active (running) since Thu 2022-06-02 14:10:16 EDT; 9s ago
    Process: 537327 ExecStart=/opt/tomcat/tomcat10/bin/startup.sh (code=exited, status=0/SUCCESS)
   Main PID: 537334 (java)
      Tasks: 29 (limit: 9460)
     Memory: 139.9M
        CPU: 5.347s
     CGroup: /system.slice/tomcat.service
             └─537334 /usr/lib/jvm/java-11-openjdk-amd64/bin/java -Djava.util.logging.config.file=/opt/tomcat/tomcat>

Jun 02 14:10:15 blog.jeffalgarne.site systemd[1]: Starting Tomcat 10...
Jun 02 14:10:16 blog.jeffalgarne.site startup.sh[537327]: Tomcat started.
Jun 02 14:10:16 blog.jeffalgarne.site systemd[1]: Started Tomcat 10.
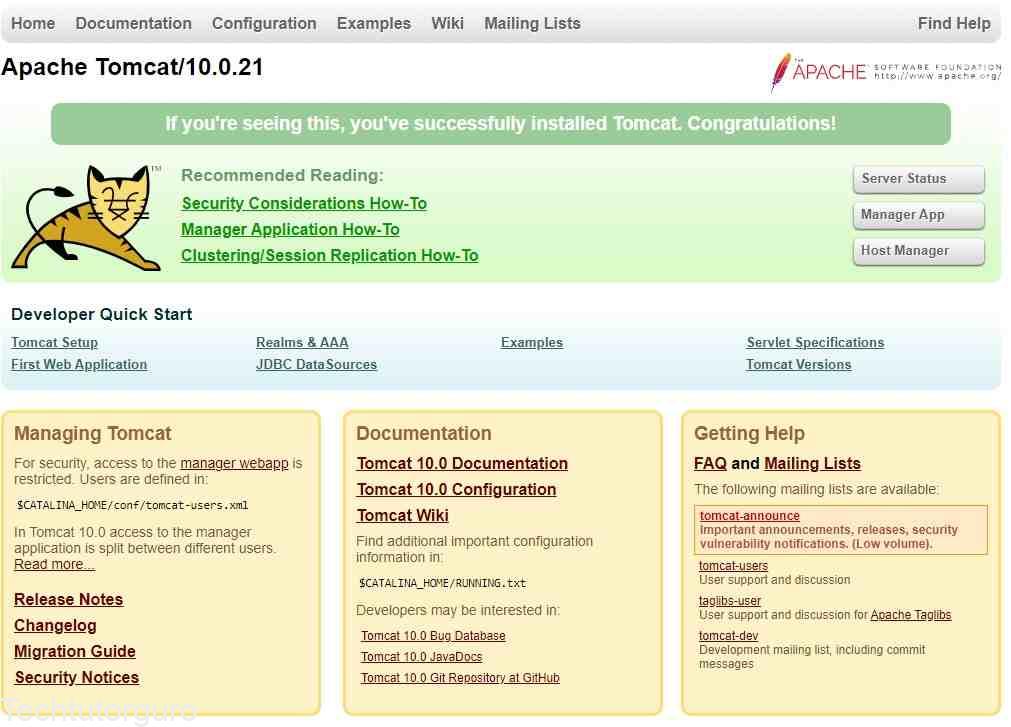
Your tomcat server should be up and running now and you can check by accessing your IP address using port 8080(i.e. http://ip.ad.rr.es:8080).

Access to Manager App and Host Manager
By default the access to Manager App and Host Manager is disabled when access remotely. To enable access to Manager App and Host Manager remotely we need to remove the restriction set in the server.
Enable Manager App:
sudo nano /opt/tomcat/tomcat10/webapps/manager/META-INF/context.xmlLook for the below lines and comment or remove it. This line restrict the access remotely and only allow localhost to access the Manager App.
<!--
  <Valve className="org.apache.catalina.valves.RemoteAddrValve"
         allow="127\.\d+\.\d+\.\d+|::1|0:0:0:0:0:0:0:1" />
-->
After you remove or comment the lines above save and exit.
Enable Host Manager:
nano /opt/tomcat/tomcat10/webapps/host-manager/META-INF/context.xmlLook also for these lines and comment or remove it.
<!--
 <Valve className="org.apache.catalina.valves.RemoteAddrValve"
         allow="127\.\d+\.\d+\.\d+|::1|0:0:0:0:0:0:0:1" />
-->
Save the file and exit.
Configure Tomcat Users
In order to access the Manager App and Host Manager we need to setup the users first.
To do that open the tomcat-users.xml file and configure the users.
sudo nano /opt/tomcat/tomcat10/conf/tomcat-users.xmlAdd the content below before the </tomcat-users> block.
<role rolename="manager-gui" />
<user username="manager" password="yourpassword" roles="manager-gui" />

<role rolename="admin-gui" />
<user username="admin" password="yourpassword" roles="manager-gui,admin-gui" />
Save the file and exit.
Then restart Tomcat.
sudo systemctl restart tomcatYou should be able to access the Host Manager and the Managers App using the users we created.

Set up Reverse Proxy with Nginx
First let us install Nginx.
sudo apt install nginxStart and enable Nginx.
sudo systemctl enable nginx --nowCreate a Nginx configuration file or server block.
nano /etc/nginx/sites-available/domain.com.confPlease don’t forget to change the domain.com to your domain.
Add the content below:
upstream tomcat {
 server 127.0.0.1:8080;
}


server {
     listen 80;

     server_name domain.com;

     access_log /var/log/nginx/domain.com-access.log;
     error_log /var/log/nginx/domain.com-error.log;

    proxy_read_timeout 720s;
    proxy_connect_timeout 720s;
    proxy_send_timeout 720s;

     location / {
         proxy_pass http://tomcat;
         proxy_set_header X-Forwarded-Host $host;
         proxy_set_header X-Forwarded-For $proxy_add_x_forwarded_for;
         proxy_set_header X-Forwarded-Proto $scheme;
        proxy_set_header X-Real-IP $remote_addr;
    }
}
Save and close the file.
Enable the Nginx configuration file(server block) by creating a symlink.
sudo ln -s /etc/nginx/sites-available/domain.com.conf /etc/nginx/sites-enabled/Restart Nginx.
sudo systemctl restart nginxThat’s it you should be able to access your Tomcat application with your domain. If you want to secure your domain by installing a free SSL certificate you can check our article about Let’s Encrypt.
Conclusion
In this tutorial you have learned to install Tomcat 10 on Ubuntu 22.04 with Nginx as reverse proxy.
If you have questions, feel free to leave a comment and we will try to answer it.
Thank you and hope you enjoy our tutorial ?


